


Riven Tides doesn't give you much room for daydreaming, and Tian Wen's Safe Harbor quest proves it fast. Before you even load in, sort your kit, check your meds, and make sure your ARC Raiders gear fits a long, risky run rather than a quick loot grab. The key detail is simple but brutal: every step has to be done in the same raid. You can't take the photo, extract, and come back later for the buried part. If you leave early or get dropped before the handoff item is secure, the whole thing resets, and nobody enjoys repeating the hotel climb twice.
Finding the clue inside Hotel Panorama Azzurro
Your first target is Hotel Panorama Azzurro, sitting on the western side of Riven Tides. It's huge, so spotting it isn't the problem. Surviving inside it is. That place pulls in players because the loot can be worth the trouble, and ARC units love turning narrow halls into panic rooms. Don't just sprint up the stairs unless you're asking for a bad time. Use ziplines, broken access routes, or elevator shafts when you can. You're heading for the restaurant level near the top. Once there, slow down and check the kitchen, bar, and back-room walls. The clue is a rough sketch, not a box or glowing stash. It shows a tennis racket, a sign, and a bench. Move close, take the photo when the prompt appears, then leave before the hotel gets too busy.
Crossing to the tennis courts
After the photo updates the quest, head south toward the Tennis Court point of interest. This stretch can feel worse than the hotel, honestly. There's open ground, awkward cover, and plenty of angles where another Raider can spot you before you spot them. Don't run in a straight line for the sake of saving ten seconds. Cut between cover, listen for ARC movement, and avoid picking fights unless you have to. Once you reach the courts, work toward the northwestern side near the outer fence. You're trying to match the sketch from the hotel, so look for the bench that fits the drawing. Nearby, there should be a patch of disturbed dirt with a small shovel sticking out. That's the dig spot. Interact with it, and the Precision Gimbal is yours.
Keeping the Precision Gimbal safe
This is where a lot of players mess up. They grab the Precision Gimbal, relax for half a second, and then get caught by a patrol or a team camping the way out. Bring an augment with a Safe Pocket if you have one. The moment the gimbal lands in your inventory, put it there. Don't wait until you hear gunfire. Don't wait until the extraction lift is coming down. Do it right away. Safe Pocket storage can save the run even if things go sideways, and for a quest item like this, that's worth more than squeezing in one extra piece of loot.
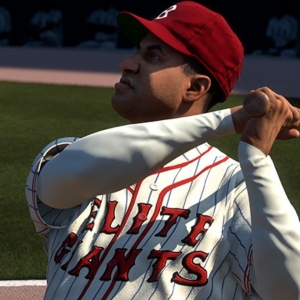
Getting paid back at Speranza
Once the gimbal is secure, stop looting unless the area is completely dead. Pick the closest extraction that doesn't look like an obvious trap, move carefully, and get out. Back in Speranza, turn the Precision Gimbal in to Tian Wen and claim the rewards, which can include useful parts such as a Surge Coil, Heavy Gun Parts, and a Horizontal Grip. If you like planning loadouts or checking item options outside the game, U4GM is often used by players looking for game currency, items, and related services, but for this mission your best investment is still patience, a Safe Pocket, and a clean exit.